


Our speciality
Traditional wooden windows, restored and spray-finished
Wooden windows need care, patience and detailed preparation. Years of weather and old paint can leave timber rough, uneven, cracked or flaking. We prepare and spray-finish suitable existing timber windows, with particular attention to sanding, filling, priming and smoothing before the final coat.
We don’t spray over problems. We prepare the surface properly so the finish has the best possible foundation.

The process
Our 9-step wooden window process.
Every step, in order. The photos alongside are from a real job: a stone house whose windows we masked, prepared and sprayed in cream RAL 9001.
Step 1: Detailed inspection
We assess the timber, old paint, joints, glazing bars and surrounding details. We identify loose paint, damage, moisture problems and any signs of decay.
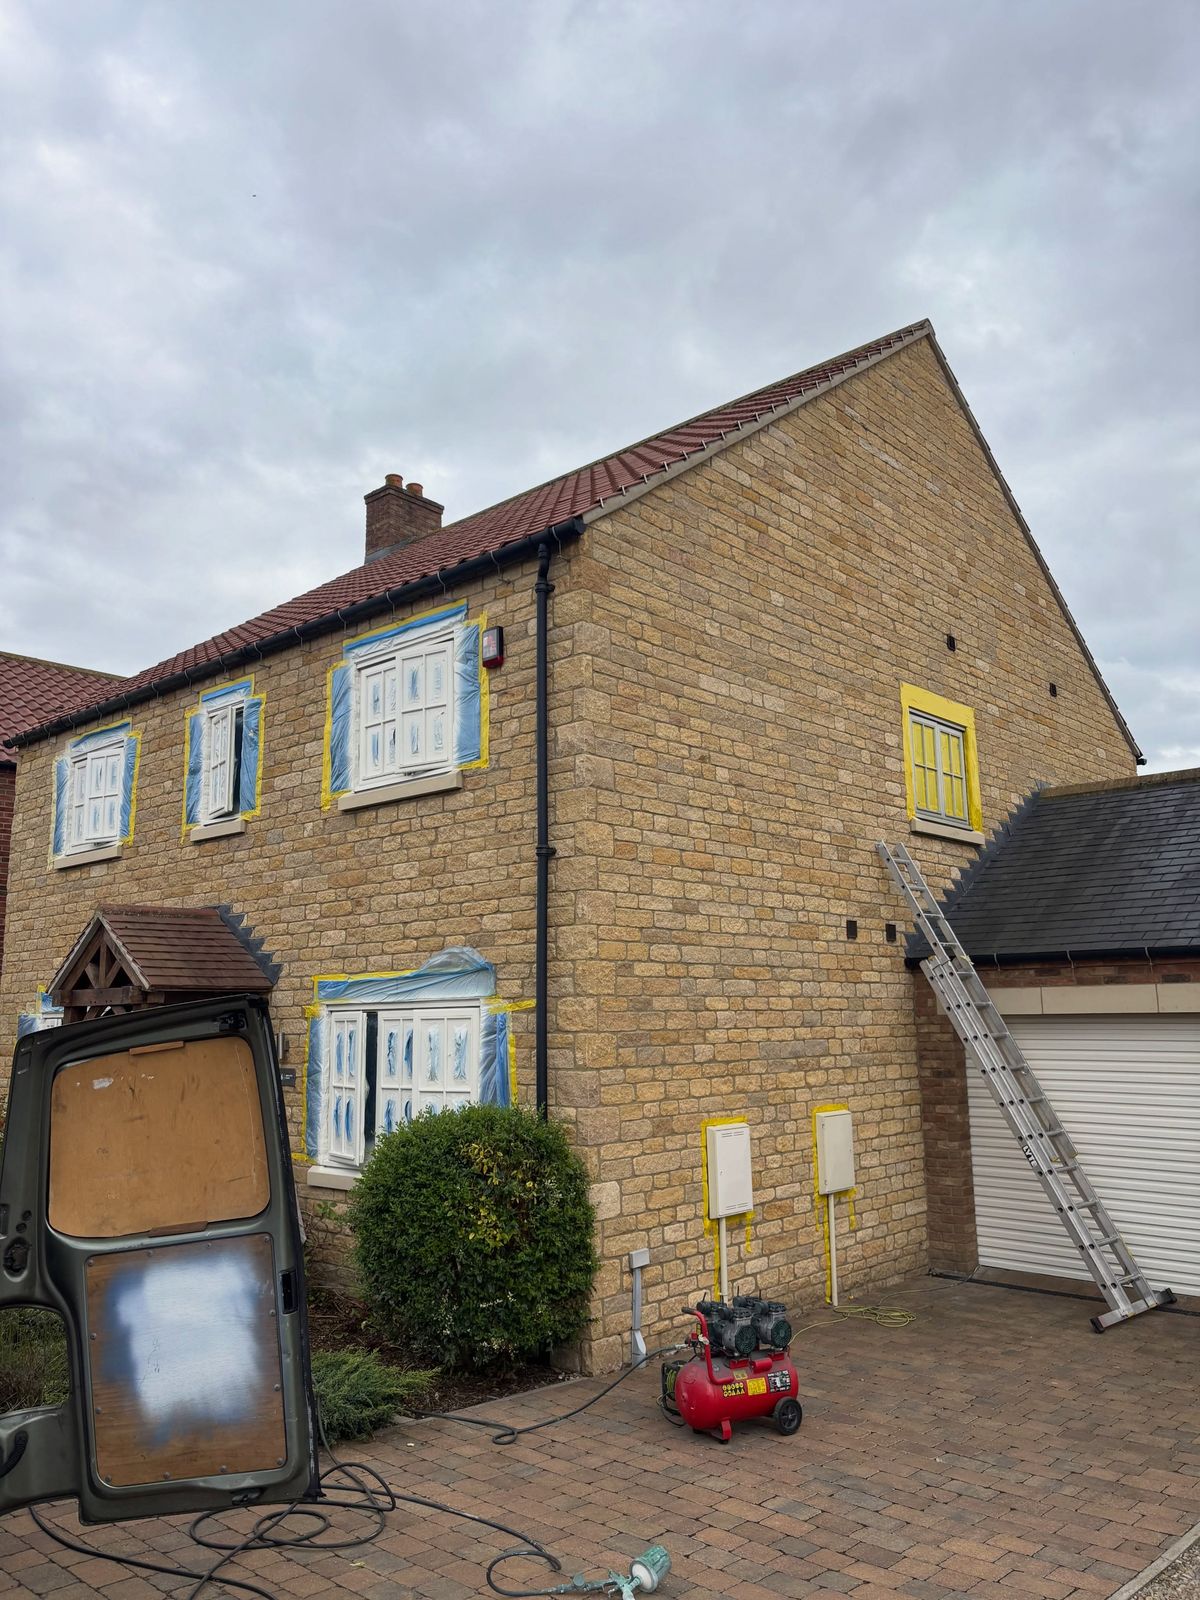
On site · Windows masked, spray kit set up Step 2: Removing failing paint
We remove loose and unstable coatings back to sound edges. Where needed, we remove more paint to expose timber for repair and preparation.
Step 3: Detailed sanding
We sand rough surfaces, paint edges and imperfections with suitable abrasives. Mouldings, corners, glazing bars and intricate profiles get particular attention. The aim is a smooth, stable surface without needless damage to the original timber.
Step 4: Wood filling
We fill suitable small holes, cracks and surface defects with wood filler. Once it has fully cured, we sand the repairs smooth and blend them into the surrounding timber.
Step 5: Final preparation
We remove dust and residue, check the timber for remaining imperfections, and make sure it is dry enough for the chosen coating system.
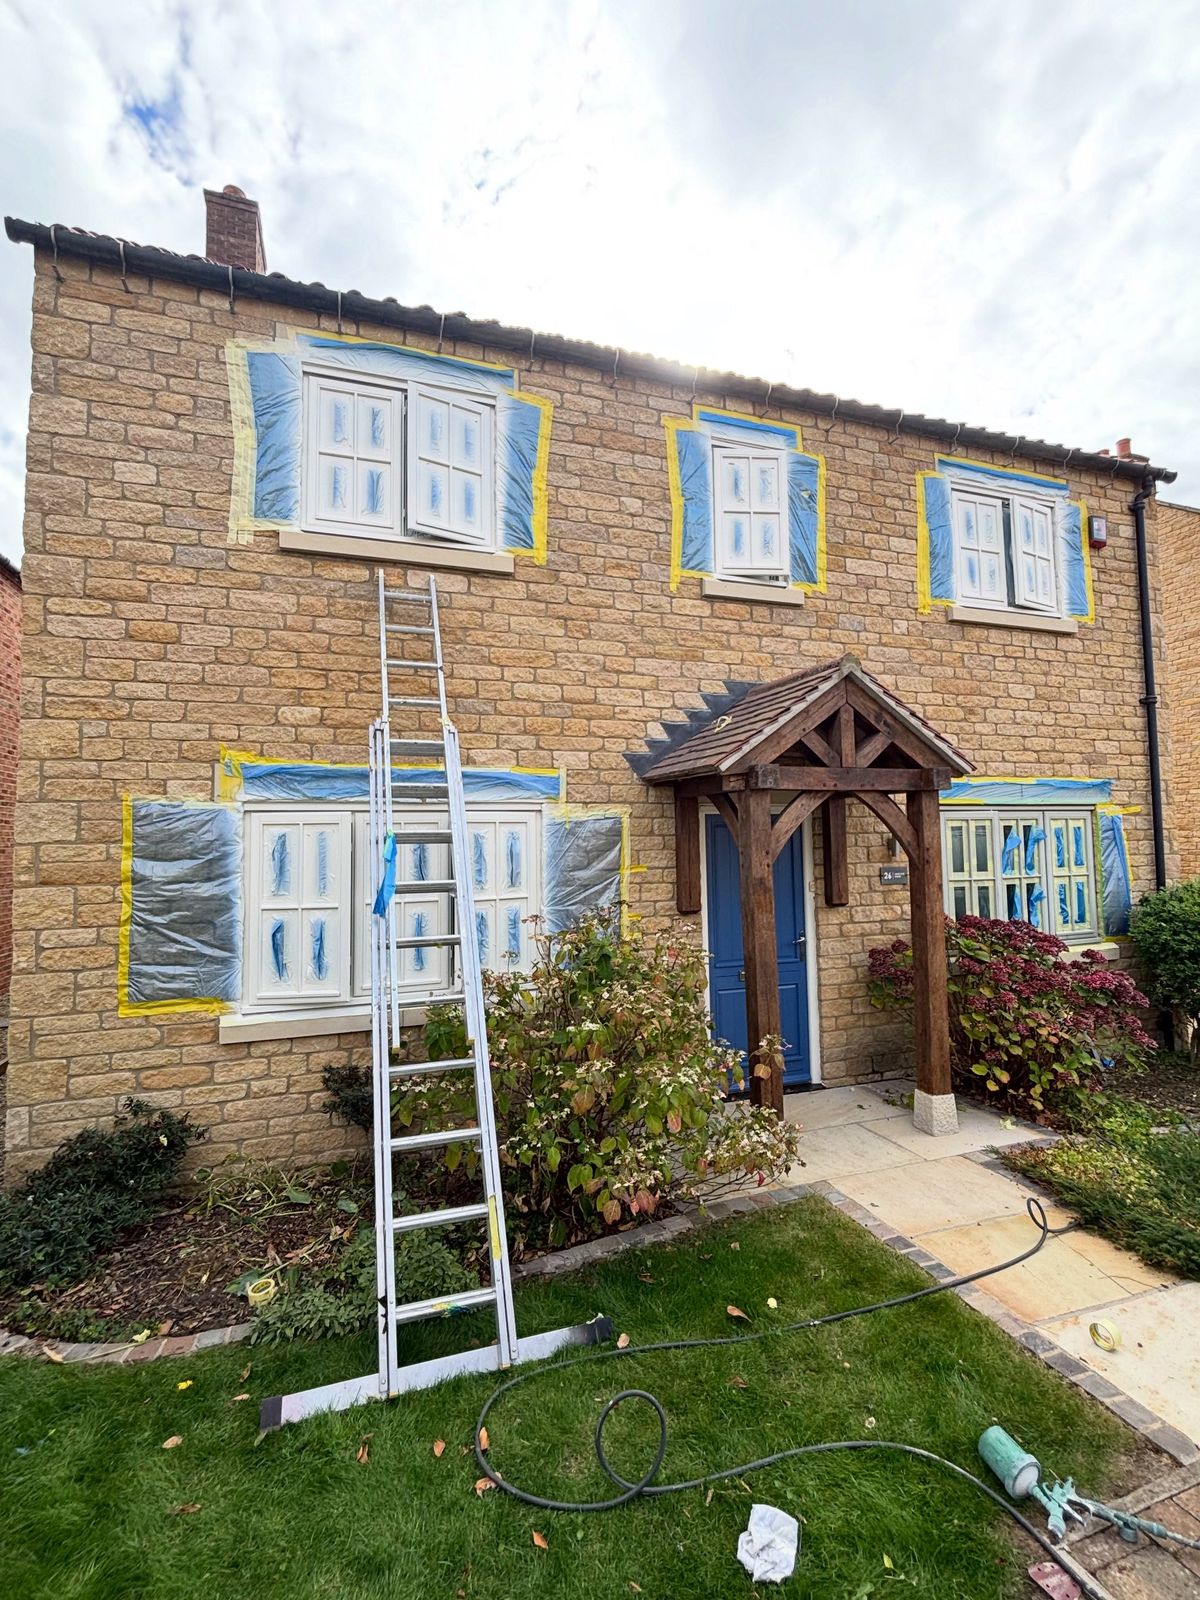
Front elevation masked, ready to spray Step 6: Wood primer
We apply a compatible wood primer to the prepared timber. Bare timber and repaired areas are treated as the chosen system’s instructions require.
Step 7: Intermediate sanding
Once the primer has dried enough, we inspect it and lightly sand where needed to remove raised grain and minor imperfections, then remove the dust before finishing.
Step 8: Selemix topcoat
We apply the chosen topcoat with the specified mixing ratio, a compatible hardener and the correct application procedure.
Step 9: Final inspection
We check the windows for coverage, smoothness, colour consistency and clean edges, remove the masking carefully and leave the finish to cure as required.
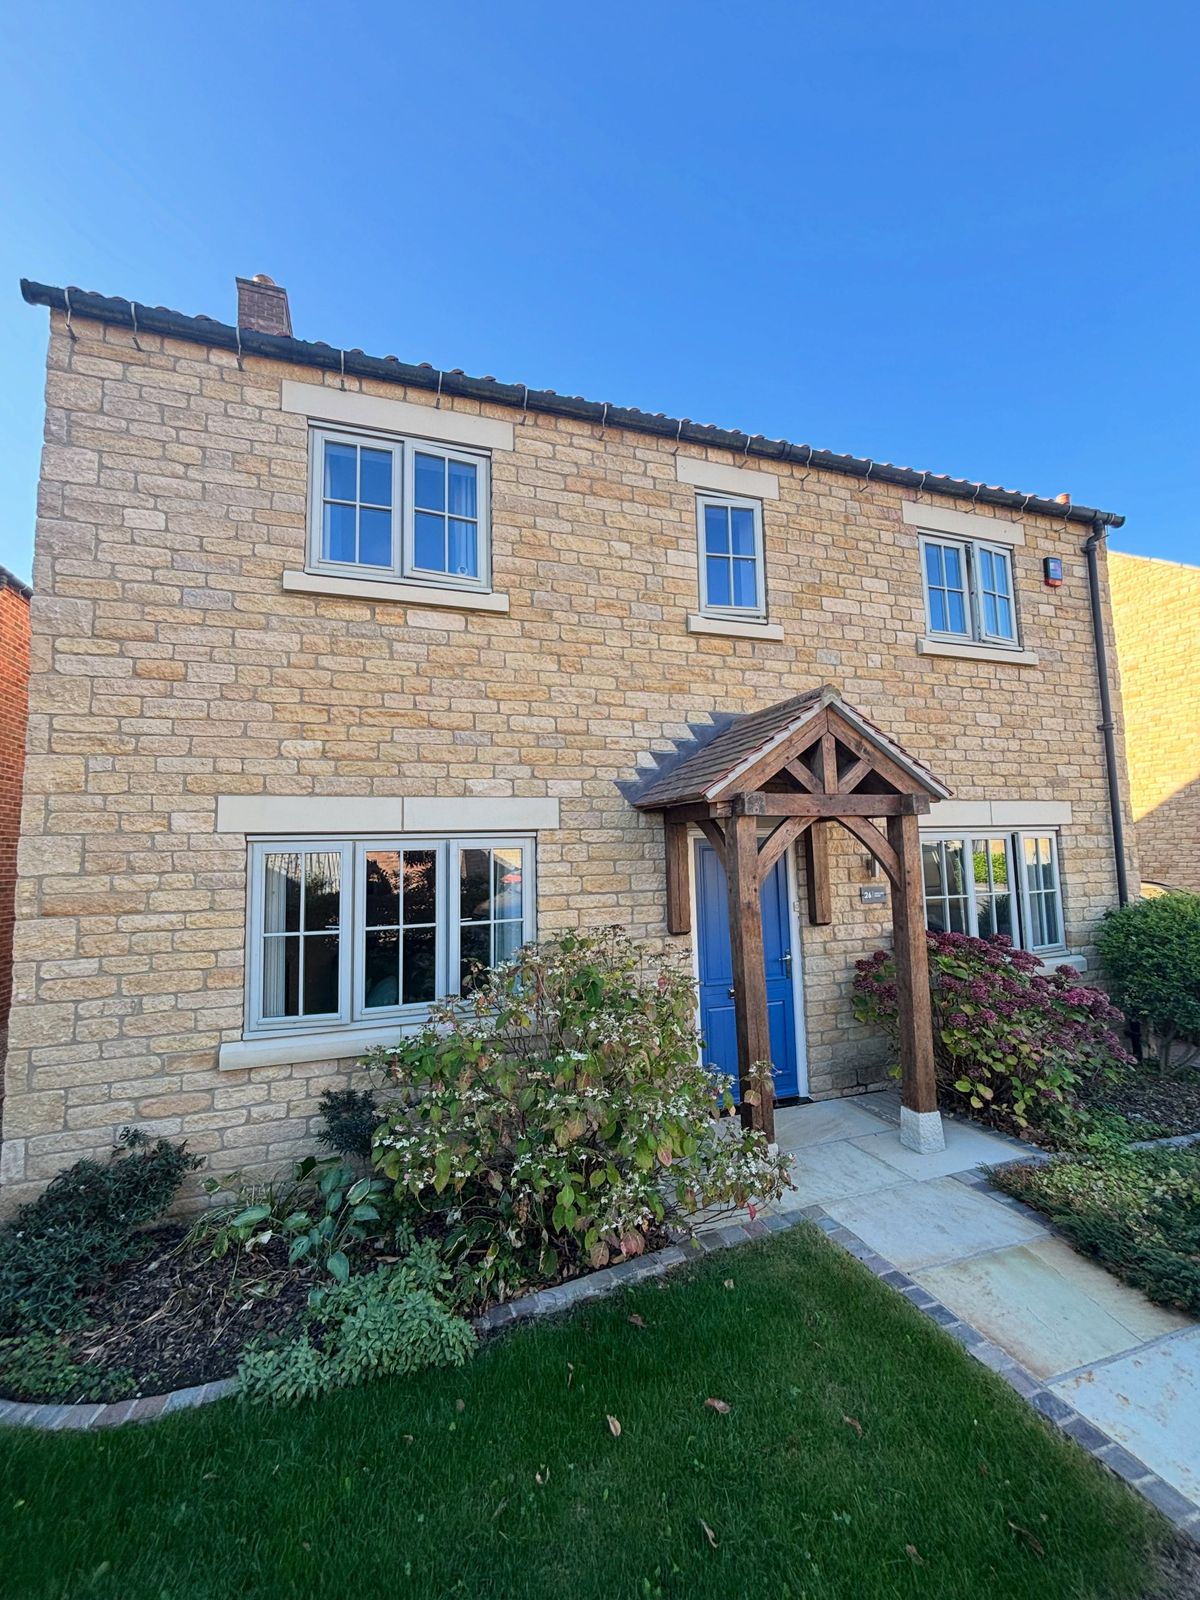
Finished · Cream RAL 9001


Good to know
Primers, topcoats and honest limits.
Before and after · same house
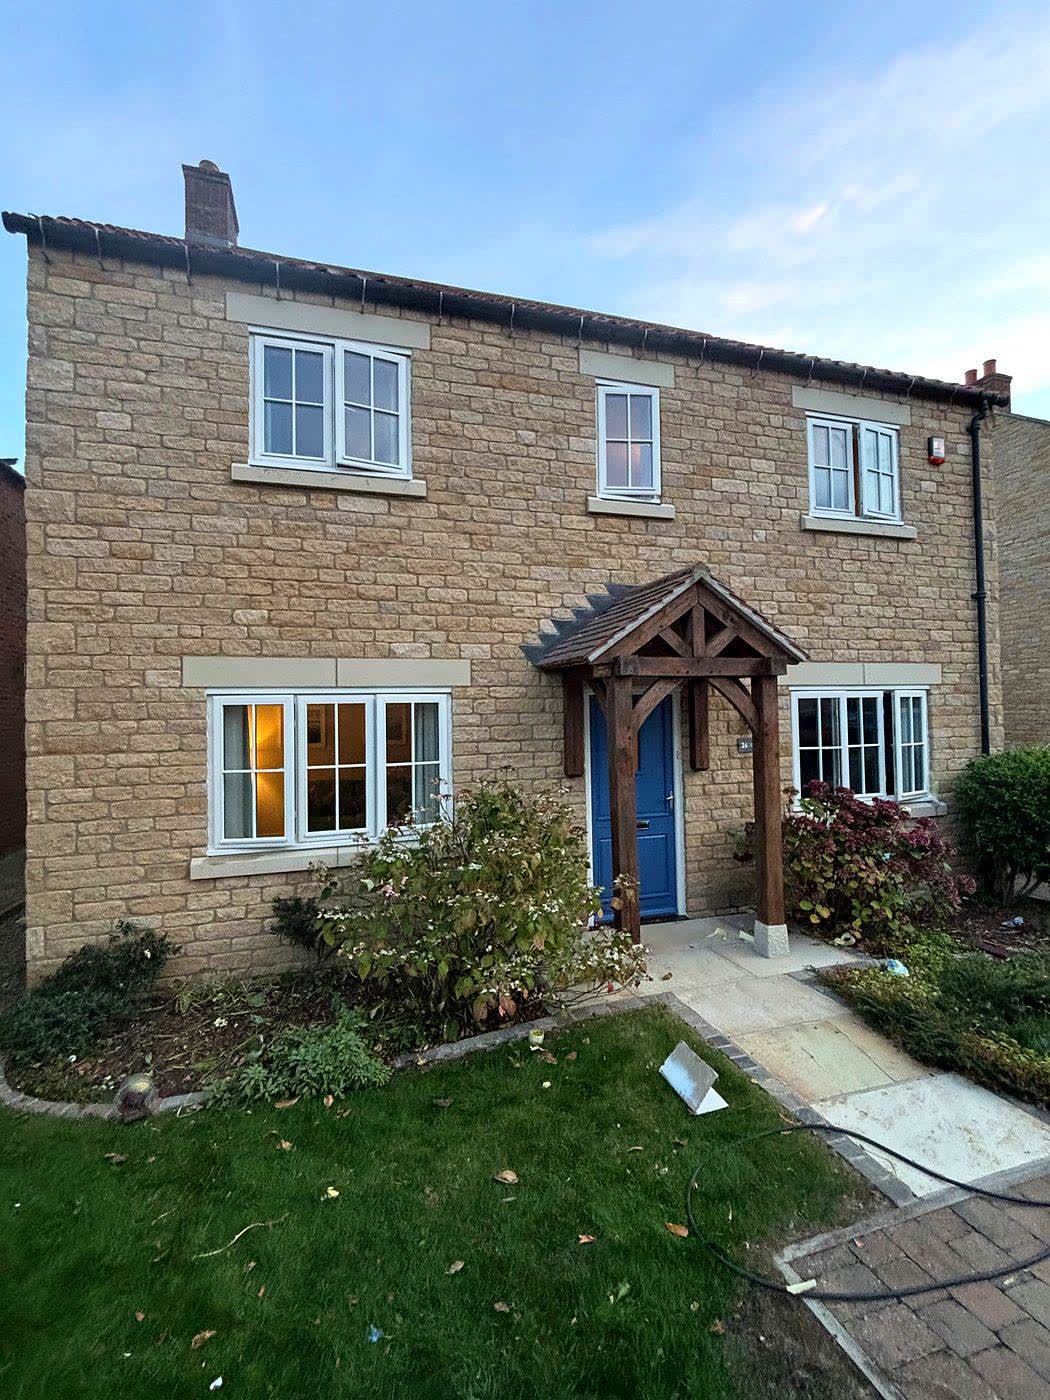
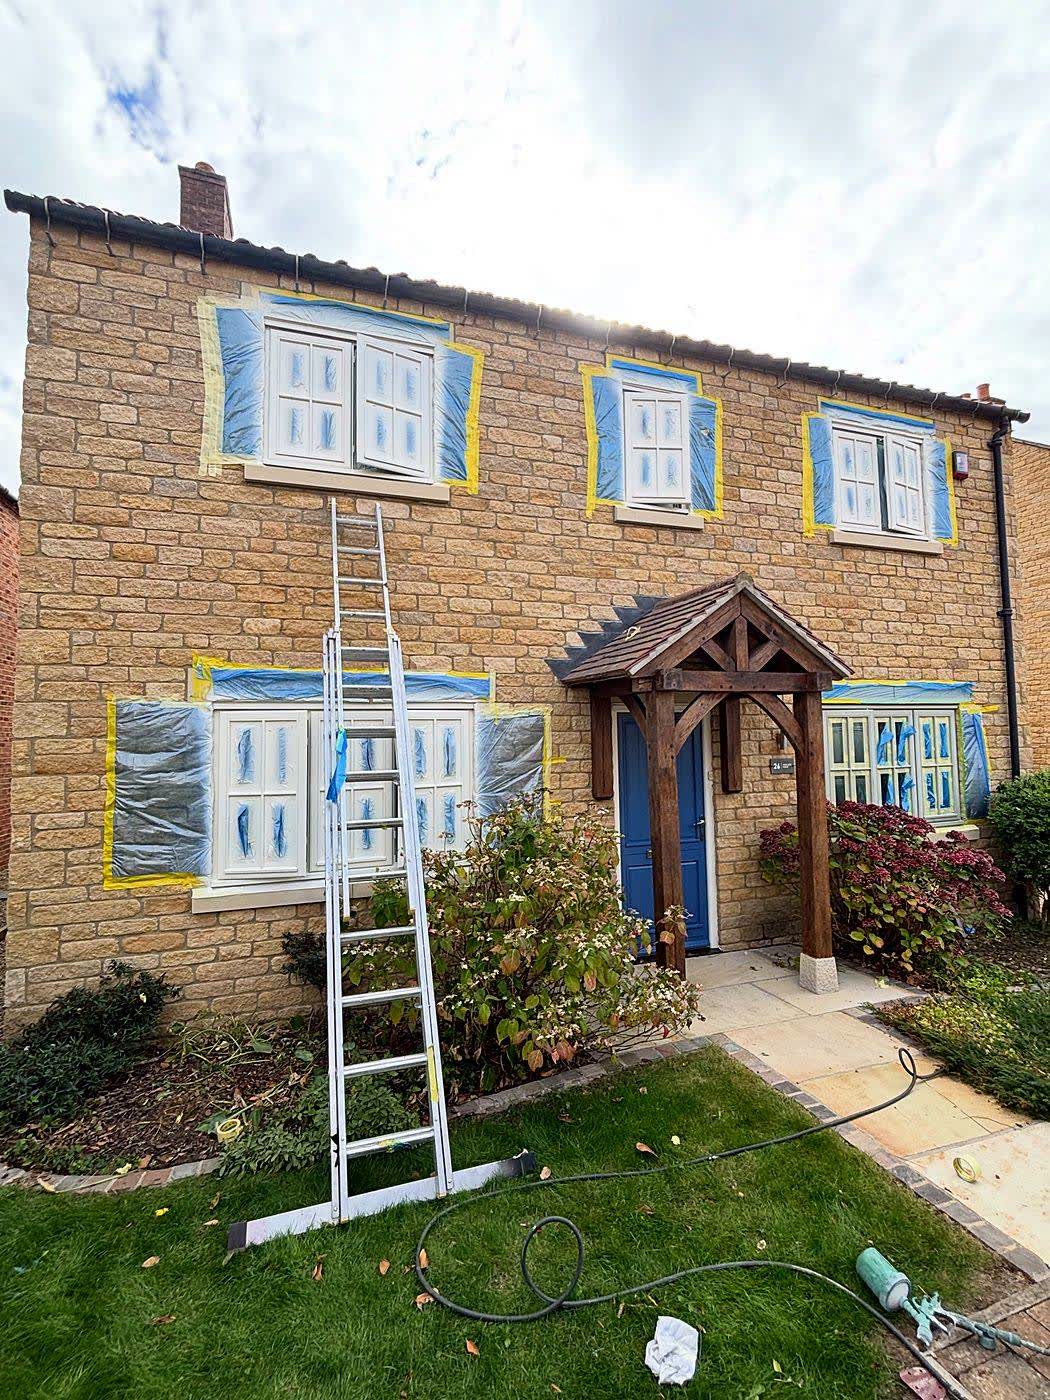
Drag to compare the house masked up mid-job with the finished windows.
Why choose us
Why choose us for wooden windows.
- Detailed preparation, not a quick cover-up
- Specialist sanding and smoothing
- Careful filling of suitable timber defects
- The right primer for the timber
- Professional spray application
- Attention to intricate window profiles
- Respect for the original features of your property


Our aim is to give tired wooden windows a refreshed, smooth, professional finish, with as much care on the preparation as on the final coat.
More services
Other surfaces we prepare and spray.
Got tired wooden windows?
Tell us about your windows. We’ll come and look at the timber, talk colours, and explain the preparation and coating system they need.